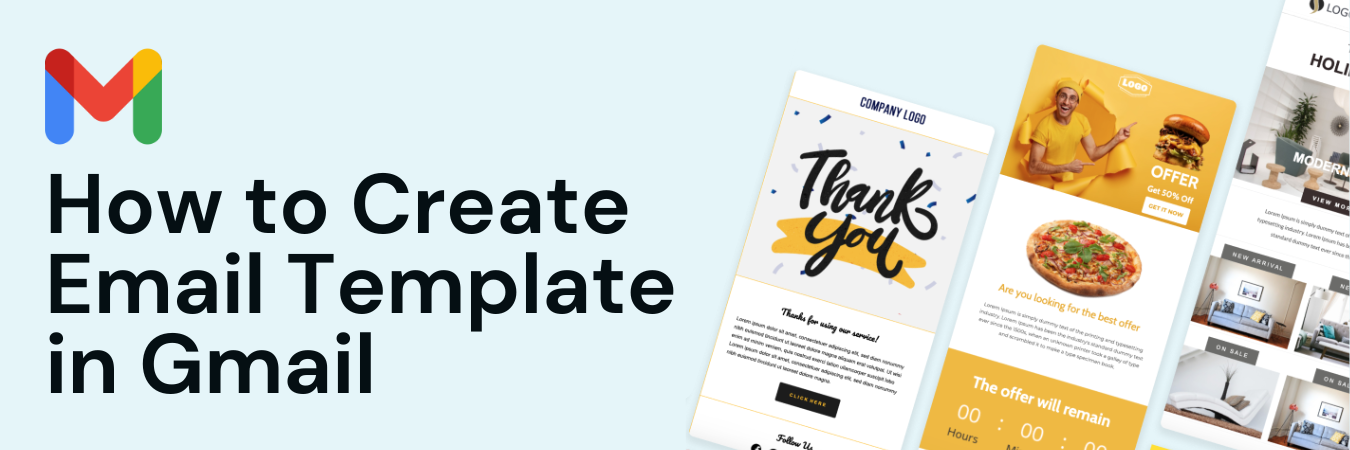
How to create HTML email in Gmail with images using extension
What is email Template?
An email template is a carefully crafted combination of HTML and CSS code, designed to create visually appealing emails with images, videos, and text. While businesses traditionally use platforms like Mailchimp, Klaviyo, and Brevo to send these templates to their target audience, it’s now possible to use templates directly in Gmail as well. Many people mistakenly believe that without a business email, they can’t send professional-looking emails. However, this blog post will guide you through using email templates in Gmail, with examples provided to help you get started.

HTML email templates offer a professional and polished look that plain text emails can't match. They enhance branding with custom designs, colors, and fonts, making emails more visually appealing and memorable. HTML templates also support interactive elements like buttons, images, and links, which can boost engagement and drive traffic to your website. Additionally, they are mobile-responsive, ensuring your emails look great on any device, which is crucial as more people check emails on smartphones.
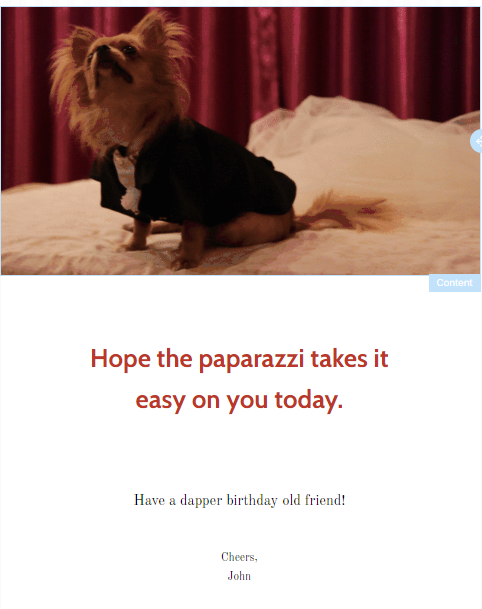
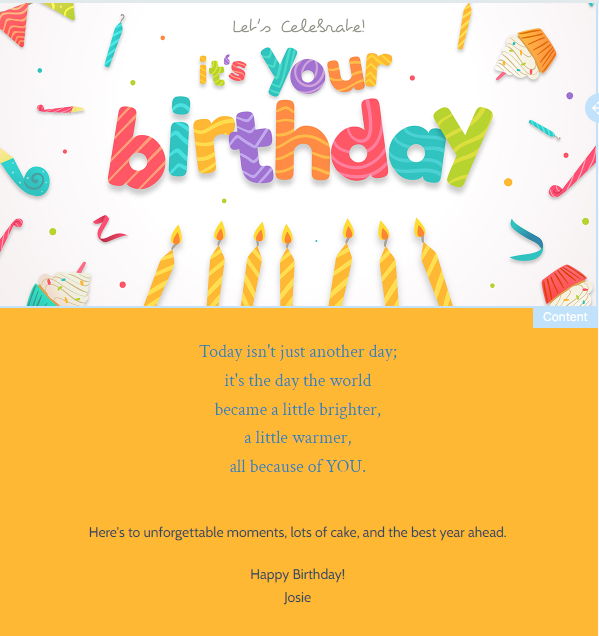
When sending emails for special occasions like Father’s Day, birthdays, or Christmas, don’t just write plain text and attach images. Instead, use an HTML template to create a visually appealing and personalized email that stands out and makes the message more engaging and memorable for the recipient.
Using email templates in Gmail can significantly streamline your workflow by saving time on repetitive tasks. Templates help maintain consistency in your messaging, ensuring that every email reflects your brand’s voice and professionalism. They are especially useful for standard responses, customer service communications, or onboarding new clients, as they ensure that no critical information is omitted while providing a polished and organized appearance.
If you use HTML templates in Gmail, your emails will be more visually appealing, enhancing the recipient's first impression—especially when reaching out to potential customers. Convincing your boss of the value of using HTML templates can also improve internal communication efficiency and the overall branding of your company’s emails.
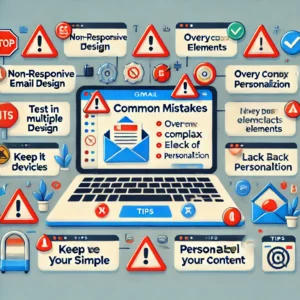
While HTML email templates can enhance the look and effectiveness of your emails, there are common pitfalls that can reduce their impact. Avoid overly complex designs that may not render correctly across all email clients, including Gmail. It's essential to ensure that your templates are mobile-responsive since a significant portion of email opens occur on mobile devices. Regularly update your templates to keep the content fresh and relevant, and always test them across different platforms and devices to ensure compatibility. Additionally, avoid neglecting personalization; generic templates can appear impersonal and may fail to engage your audience. Using dynamic content and personalized elements can make your emails more relevant and impactful, improving overall engagement and response rates.
Let's Learn Step by Step
To use an email template in Gmail, you’ll need to install a browser extension. This tool is incredibly useful for enhancing your email communications. Let’s walk through the process step by step.
Step: 1
Install a Tools
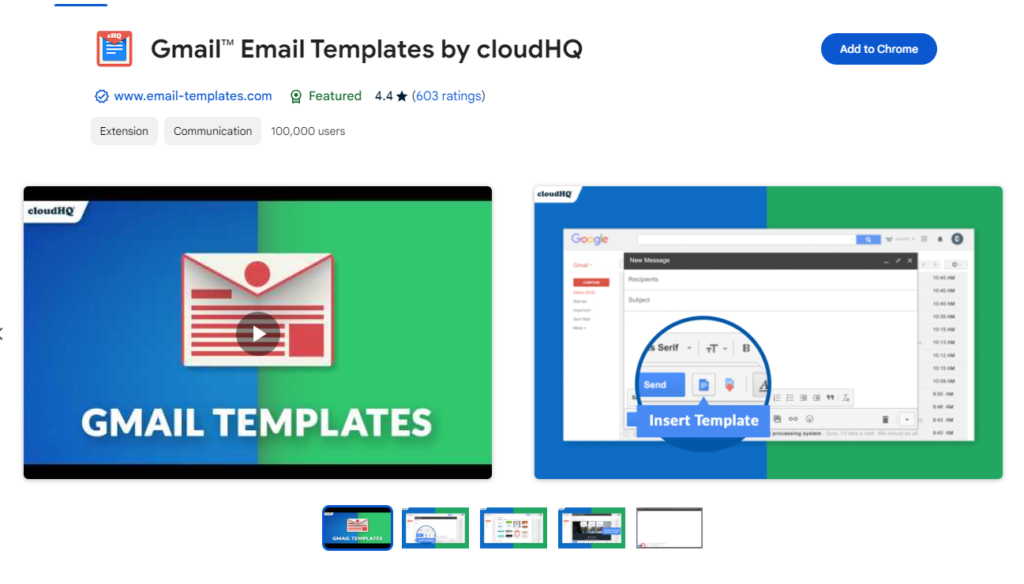
First, go to the Chrome Web Store and search for “Gmail™ Email Templates by cloudHQ.” Click the install button and accept the permissions if prompted. Once the tool is successfully installed, you can move on to the second step.
- Open a browser
- Go To Crome Extension
- Find The targeted Extension
- Install The Extension
Step: 2
Enable a setting
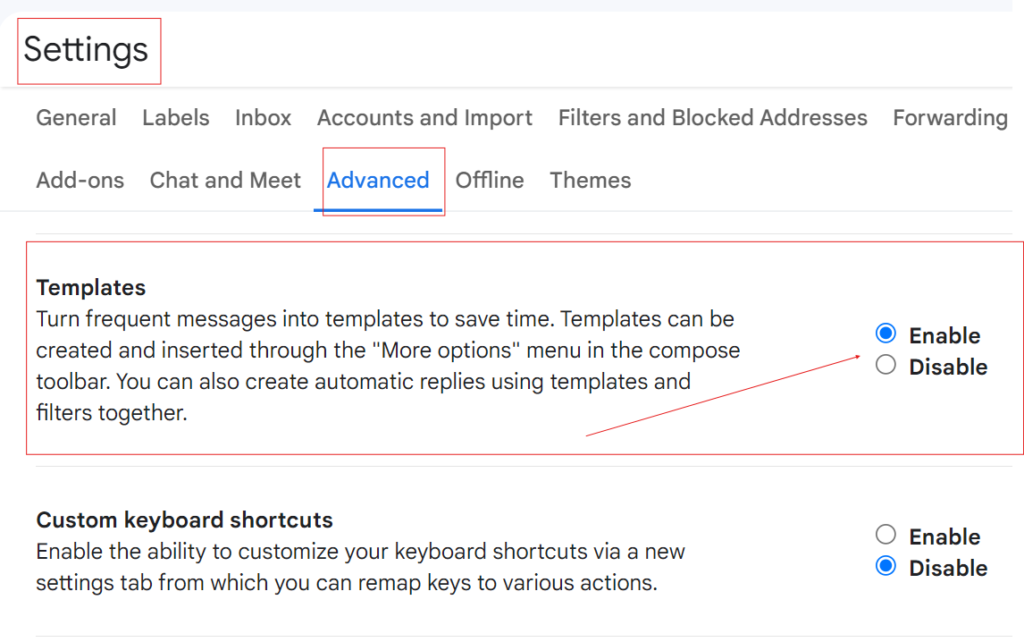
Open Gmail in your laptop browser. Click on the settings icon and then select “See all settings.” Next, navigate to the “Advanced” tab, where you’ll find the “Templates” option. Simply enable the option and reload the browser.
- Open Gmail
- Go To Gmail Setting
- See all Setting
- Click Advanced option
- Enable Template option
Step: 3
Choose an Email Template
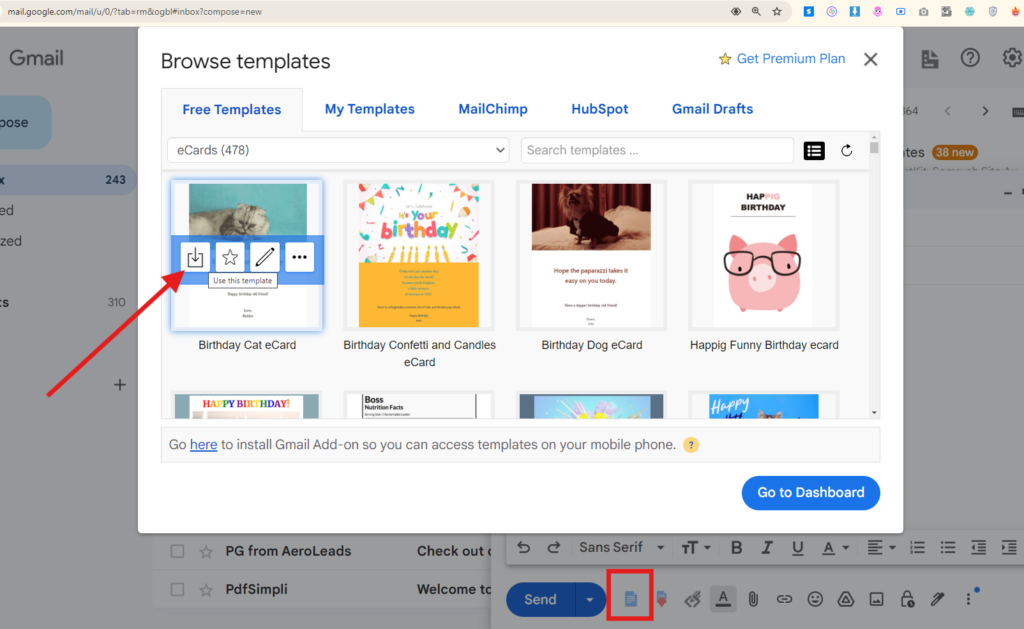
Now, go to gmail.com in your browser and click to open a new compose window. At the bottom of the compose window, you’ll see a template icon—refer to the example photo attached. Click on the icon, and you’ll see options like “Free Templates,” “My Templates,” “Mailchimp,” and “HubSpot.” If you click on “Free Templates,” you can choose the one that suits your needs. The “My Templates” option allows you to save and reuse your own custom templates.
- Open gmail
- Open a compose window
- Click the template icon near the send button
- Click browse template
- Click the use template icon
Step: 4
How to Edit a Template
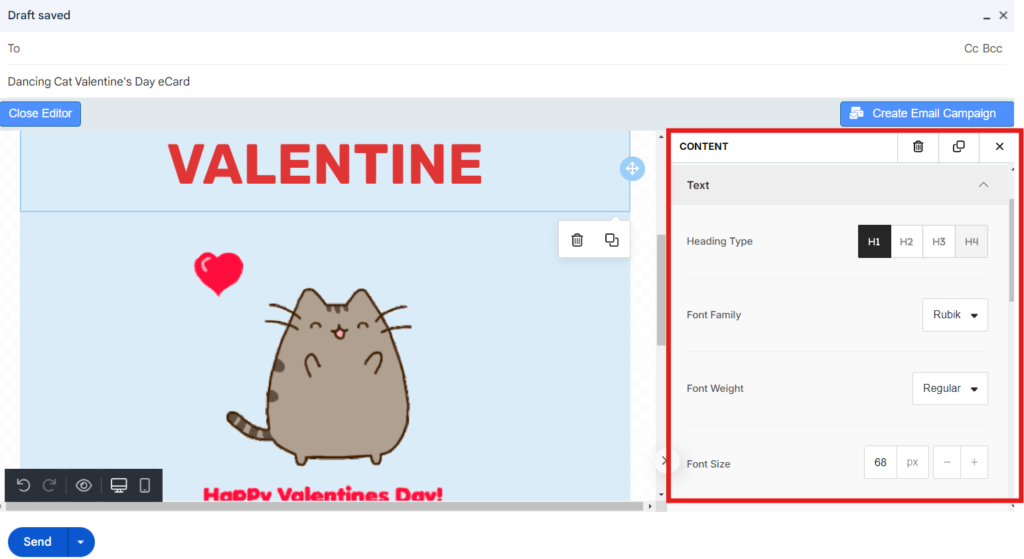
When you choose a template from the “Free Template” option and click on it, the template will appear in the compose section. To begin editing, click anywhere on the template within the compose window. A new editable window will appear with multiple sections to customize.
How to Change and Edit Sections and Content:
Text: Click on the text within the template that you want to edit. Options for editing, such as font family, size, color, text alignment, line height, and “Hide on Desktop,” will appear on the right.
Images: To change an image, follow the same steps—click on the image, and the relevant options will appear. The available options will differ depending on the element selected.
Background: If you want to change the background image or color, click outside the template content area. This will reveal options to edit the background as needed.
Step: 5
How to Add New Section
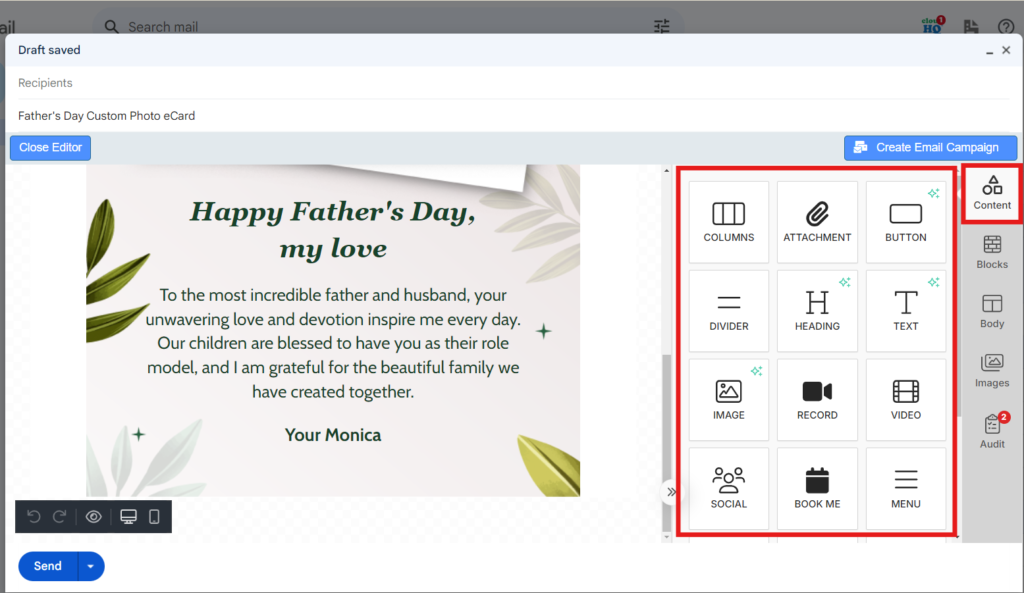
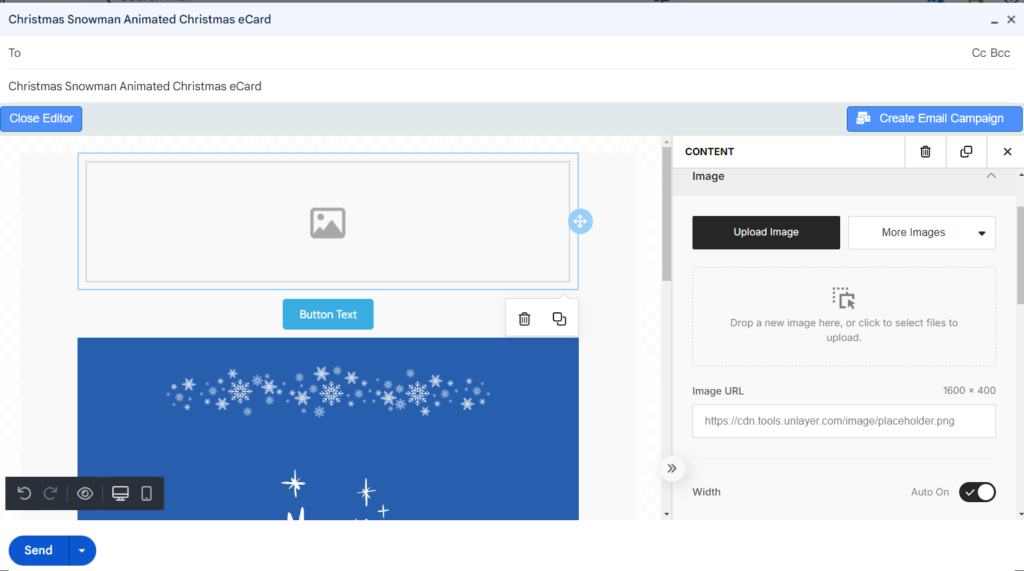
On the right side of the screen, you can find the content, blocks, body, and images sections.
To add a new section to the template, click the “Block” section, and you will see options for one block, two blocks, and multiple blocks. Choose the right block, and drag and drop it into the template.
To add new content to the blocks/section, click the “Content” section, where you will see various options like Column (which is essentially the same as a block, so you can move on to the next option).
Attachment: If you want to attach files like PDFs, docs, excel sheets, etc., this section is perfect.
Button: I’m sure you already know what a button is. Drag and drop the button and change the button style by clicking the button.
Divider: If you want to create space between two sections or pieces of content, use the divider.
Heading and Text: A heading is a kind of title. For example, my block title is “How to use email templates in Gmail.” The text is the paragraph content that follows.
Record: Record and send video—directly from Gmail! Your text-based emails aren’t as effective as they used to be. With video, you can stand out in a crowded inbox. Easily record and send video emails from Gmail.
Video: You can use video in the template.
Social: You can add social media URLs and icons like Facebook, Twitter, Instagram, etc.
Book Me: If your customers want to book a hotel or service, use this option.
Menu: The Menu option allows you to create a navigation bar within your email template, similar to what you would see on a website. You can add links to various sections of your email or external websites, making it easier for your audience to navigate the content.
Step: 6
Additional Section
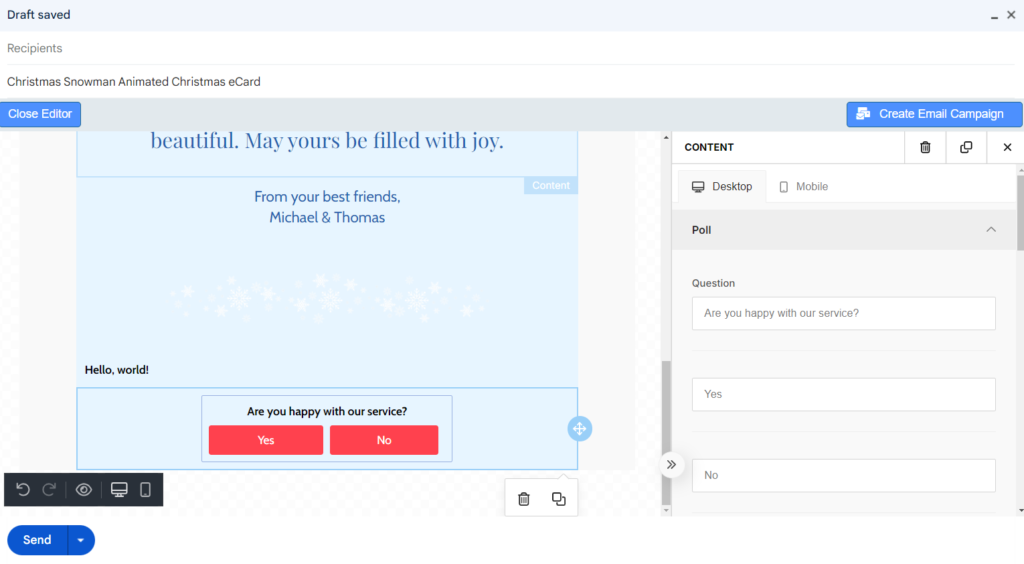
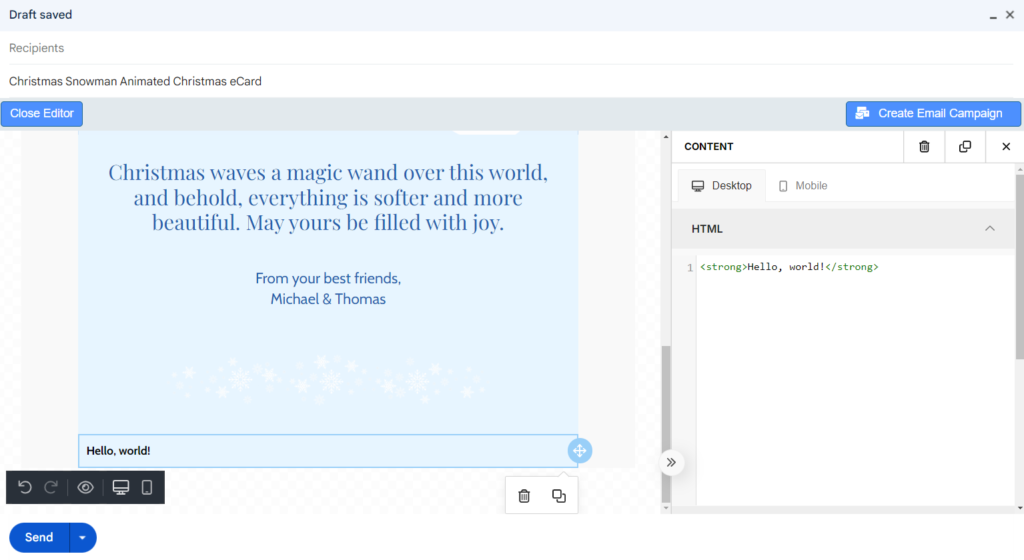
HTML Code: You can add custom HTML code. This option is useful for someone who has a custom section with specific HTML code they want to include.
Timer: Some business owners offer a discount for a limited time, like 24 hours. They can use the timer to create urgency.
Polls: This option is used for surveys. For example, if someone wants to know how many of their audience members like their service, they can run a poll.
Unsubscribe: If someone wants to remove their email from your list because they no longer wish to receive your emails, they can use the unsubscribe option. I recommend using this option if you want to respect your audience’s preferences.
Step: 7
Steps to Send the Email
- Enter the Email Title: At the top of the compose window, add a subject line for your email. This is the title your recipients will see in their inbox. Make it clear and engaging to boost open rates.
- Add Recipient(s):
- In the “To” field, enter the recipient’s email address.
- For bulk emails, you can paste a list of addresses or use a mailing list.
- Use the “CC” or “BCC” fields as needed.
- Send the Email:
- Review the content one last time to ensure everything looks perfect.
- Click the Send button to dispatch your email.
Conclusion
Incorporating these elements into your email templates will not only enhance their functionality but also improve your engagement with your audience. By adding features like custom HTML, timers, polls, and an easy unsubscribe option, you can create more dynamic and user-friendly emails that cater to your audience’s needs and preferences.
Incorporating these elements into your email templates will not only enhance their functionality but also improve your engagement with your audience. By adding features like custom HTML, timers, polls, and an easy unsubscribe option, you can create more dynamic and user-friendly emails that cater to your audience’s needs and preferences.
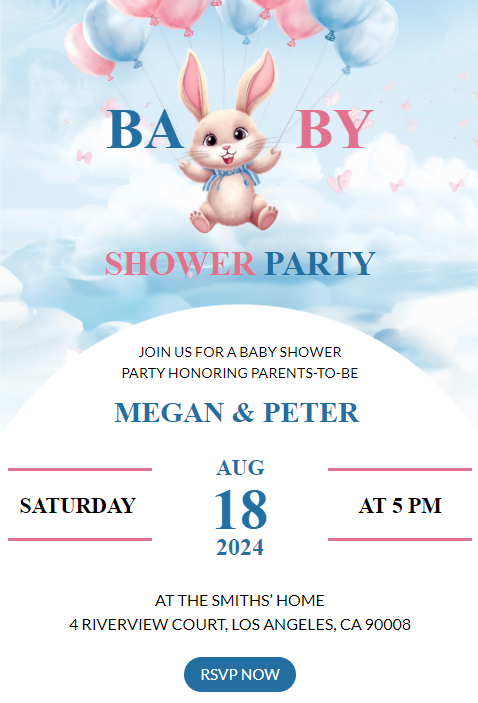
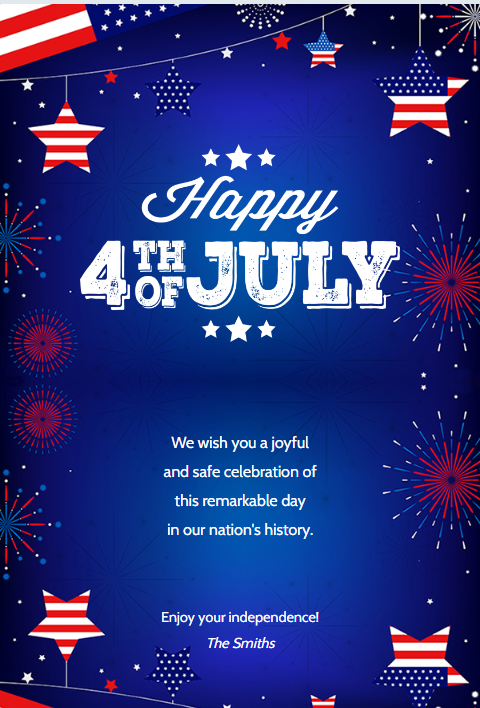
HTML Email Template List For Gmail



Pingback: Send an html email from outlook - LeadGenSpot