A Complete Guide to ConvertKit
Hey guys, it’s Maruf, and in this blog post, I’m going to walk you through a comprehensive step-by-step ConvertKit tutorial. Whether you’re brand new to email marketing or just need a refresher, this guide will take you through everything you need to know about ConvertKit—from setting up your account to creating effective email campaigns, collecting leads, and driving sales. Let’s get started!
Why ConvertKit?
Before diving into the tutorial, it’s important to understand why ConvertKit is a powerful tool for creators and businesses. ConvertKit is designed with creators in mind, providing a user-friendly platform to help you grow your audience, build relationships, and generate revenue through email marketing. Whether you’re a blogger, YouTuber, or an online entrepreneur, ConvertKit has the tools to streamline your email marketing efforts.
Getting Started with ConvertKit
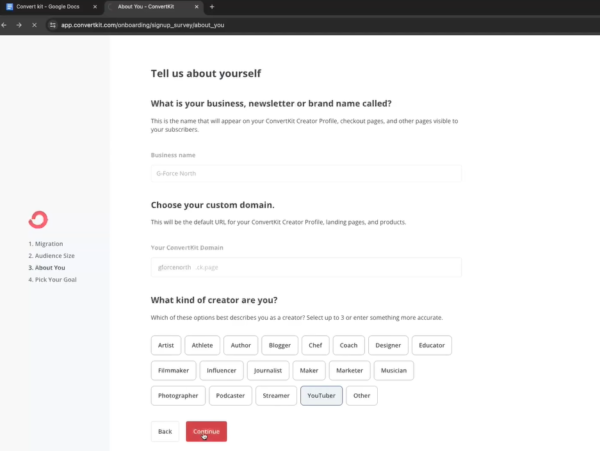
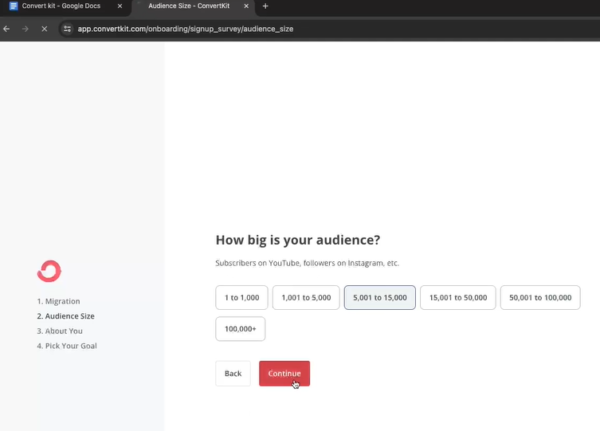
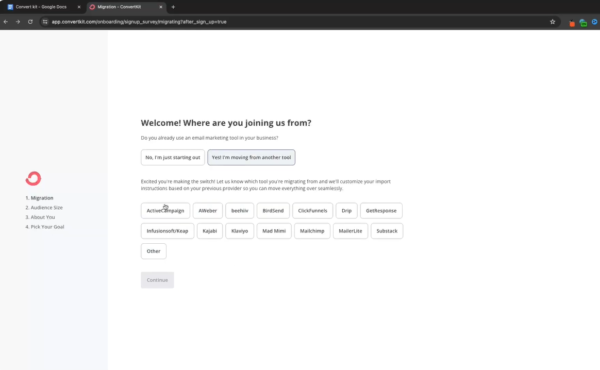
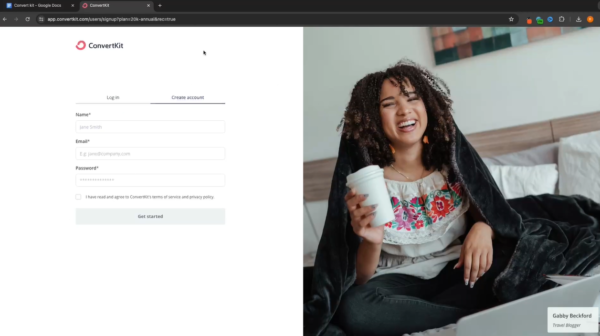
The first step in using ConvertKit is creating your account. To do this, head over to the ConvertKit website and sign up for a free account. ConvertKit offers a 14-day free trial, and after that, there’s even a free plan available, so you don’t need to worry about upfront costs. During the sign-up process, you’ll be asked to provide your name, email, and password. After signing up, be sure to verify your email to complete the process.
Pro Tip: If you signed up with a Gmail, Yahoo, or other free email service, consider upgrading to a professional email address (e.g., [email protected]). Using a professional email address improves your deliverability rates, ensuring that more of your emails make it to your subscribers’ inboxes rather than their spam folders.
Pricing and Plan
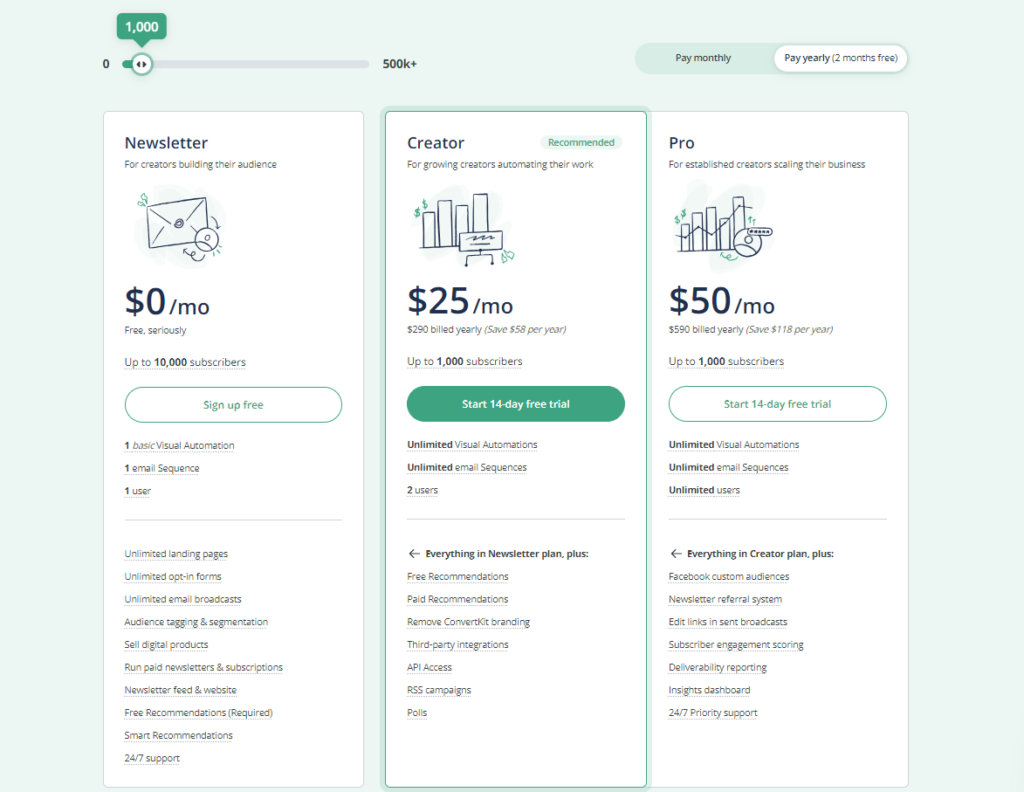
ConvertKit offers a range of pricing plans designed to suit different needs, whether you’re a solo creator, small business, or a larger organization. Their plans are structured around the number of subscribers you have, with a free tier available for up to 1,000 subscribers. This free plan includes essential features like email broadcasts, landing pages, and limited automation. As your subscriber list grows, you can opt for the Creator plan, starting at $29 per month, which provides advanced features such as automated email sequences, integrations, and premium support. For larger businesses or those requiring more robust features, the Creator Pro plan starts at $59 per month and includes additional perks like priority support, advanced reporting, and the ability to use a custom Facebook audience. ConvertKit’s flexible pricing ensures that as your business scales, you have access to the tools and support needed to effectively manage your email marketing campaigns.
Navigating the ConvertKit Dashboard
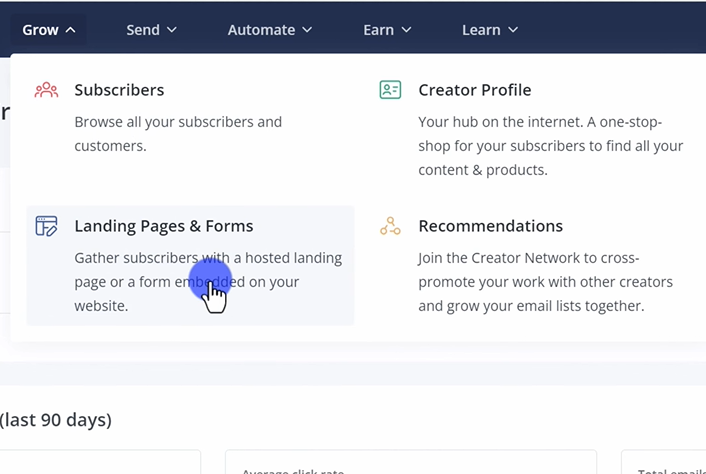
Once you’ve logged in, you’ll find yourself on the ConvertKit dashboard, which is the central hub for all your email marketing activities. The dashboard is divided into several sections:
- Grow: Here, you can add subscribers, create landing pages, and design forms.
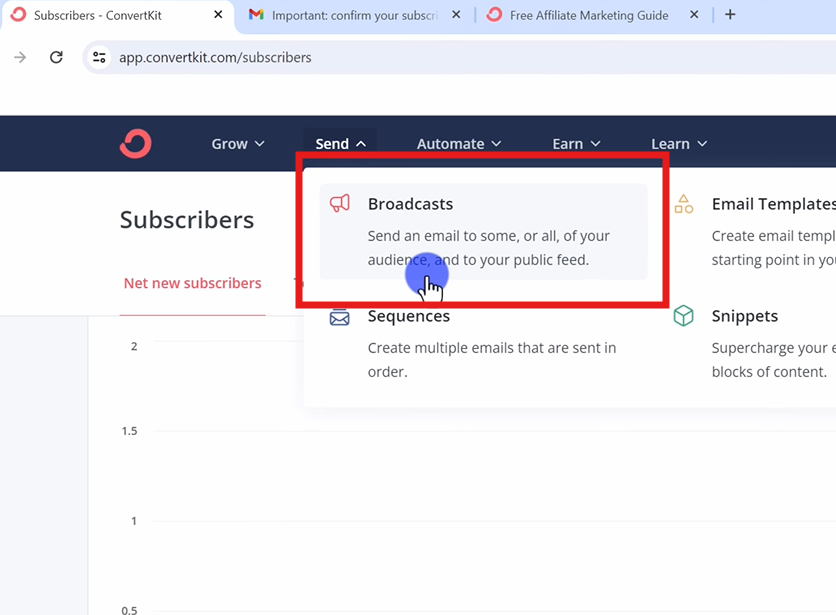
- Send: This section allows you to craft individual emails or entire sequences, set up automations, and manage your email campaigns.
- Earn: Use this area to monetize your efforts by creating products or recommending other creators to your audience.
- Learn: Access documentation, community resources, and educational content to enhance your knowledge of ConvertKit.

Before you dive into creating your first campaign, there are a few key settings you should configure:
Verify Your Email Address: If you haven’t already, verify the email address you used to sign up. This is crucial for ensuring your emails are delivered successfully.
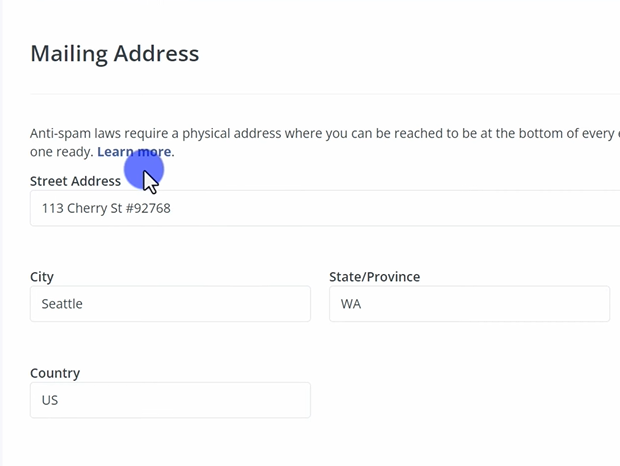
Enter a Physical Address: ConvertKit requires you to include a physical address in your emails to comply with anti-spam laws. If you’re uncomfortable using your home address, ConvertKit provides an option to use their business address.
Enable Unsubscribe Survey: Turn on the unsubscribe survey feature to gain insights into why subscribers may be opting out. This can help you improve your content and better serve your audience.
Embedding the Form:
After creating your form, you can embed it on your website using HTML or JavaScript code. Simply copy the code provided by ConvertKit and paste it into your website’s HTML editor.
Creating a Landing Page:
Landing pages are a powerful tool for capturing leads without the need for a full website. To create a landing page:
- Go to the “Grow” section and click on “Landing Pages.”
- Select a template that suits your offer, such as a lead magnet or webinar sign-up page.
- Customize the template with your content, including headlines, descriptions, and images.
- Publish the landing page and share the link wherever you want to drive traffic, such as social media or in your email signature.
Creating Forms and Landing Pages
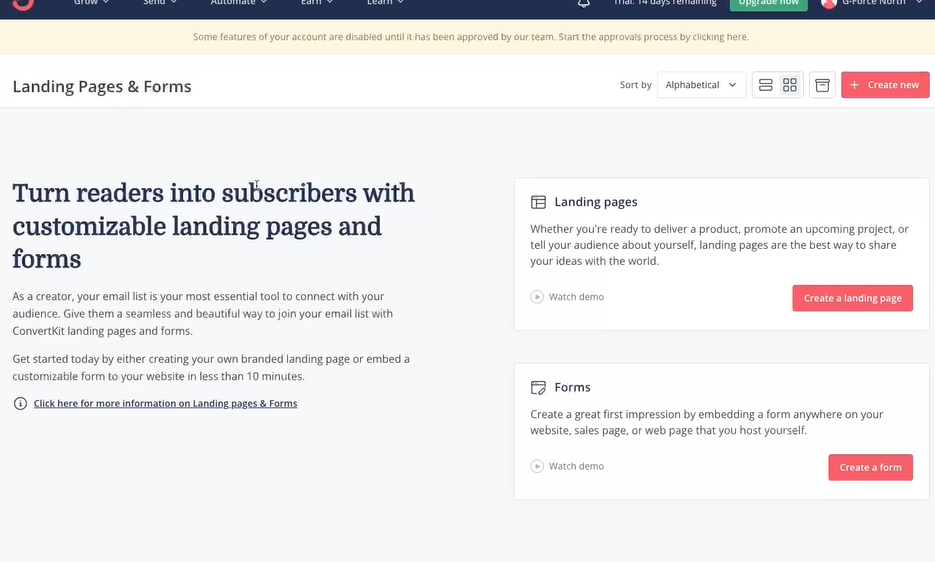
With your account set up and ready to go, it’s time to start collecting leads by creating forms and landing pages. Forms are embedded directly on your website, while landing pages are standalone pages designed to capture leads.
Creating a Form:
- Navigate to the “Grow” section and click on “Forms.”
- Choose from different types of forms, such as inline forms, pop-ups, slide-ins, or sticky bars.
- Customize the form by adding fields like name and email, and edit the button text to match your offer (e.g., “Get Your Free Guide”).
- Set up an incentive email to confirm new subscribers. This ensures that only those genuinely interested are added to your list.
Embedding the Form:
After creating your form, you can embed it on your website using HTML or JavaScript code. Simply copy the code provided by ConvertKit and paste it into your website’s HTML editor.
Creating a Landing Page:
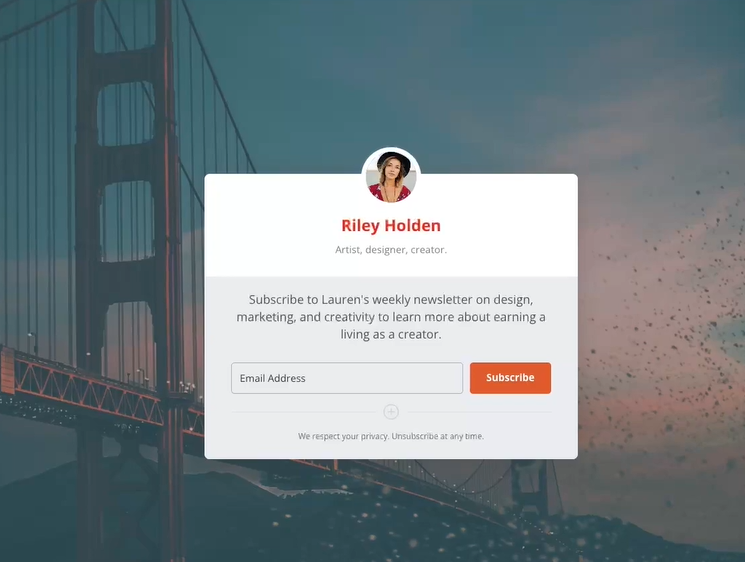
Landing pages are a powerful tool for capturing leads without the need for a full website. To create a landing page:
- Go to the “Grow” section and click on “Landing Pages.”
- Select a template that suits your offer, such as a lead magnet or webinar sign-up page.
- Customize the template with your content, including headlines, descriptions, and images.
- Publish the landing page and share the link wherever you want to drive traffic, such as social media or in your email signature.
Crafting Your Personalised Email Broadcast
Start by creating a personalized email broadcast to engage with your subscribers directly. Follow these steps to ensure your message resonates with your audience:
Personalize Your Email:
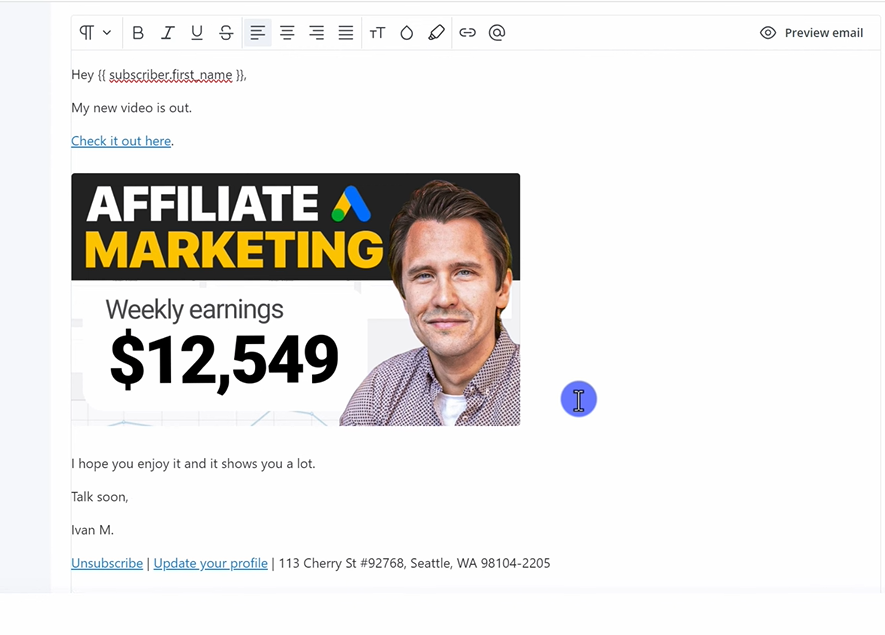
- Begin by addressing your subscribers by their first names. To do this, click on “Personalize” and select “Search for Subscriber First Name.” This will automatically insert the subscriber’s name into the email.
- Example: “Hey [Subscriber First Name], my new video is out!”
2. Add Your Content:
Include a brief message to inform your subscribers about your new video or any other content. You can also add an image by clicking on the plus sign in your content block. Once you add the image, adjust its size and position (left-align it if needed).
3. Link Your Video:
Hyperlink the image or text to your video by entering the URL (e.g., www.youtube.com/yourvideo). Click “Apply” to set the hyperlink.
4. Tagging Subscribers:
You can tag subscribers who click on the link to keep track of their engagement. For instance, create a tag like “Clicked Google Video” and apply it. This allows you to send targeted emails to subscribers who show interest in specific content.
5. Customize the Design:
Make your email visually appealing by adding a background color or other design elements. For example, highlight a section of text with a yellow background.
6. Send Your Broadcast:
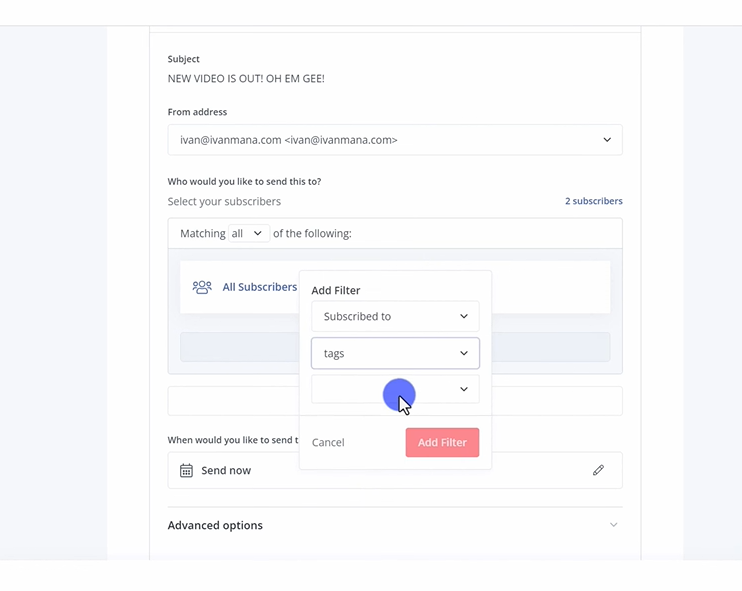
Once you’re satisfied with the email, click “Continue” to proceed with sending. Choose whether to send it to all subscribers or a filtered segment, such as those tagged with specific interests.
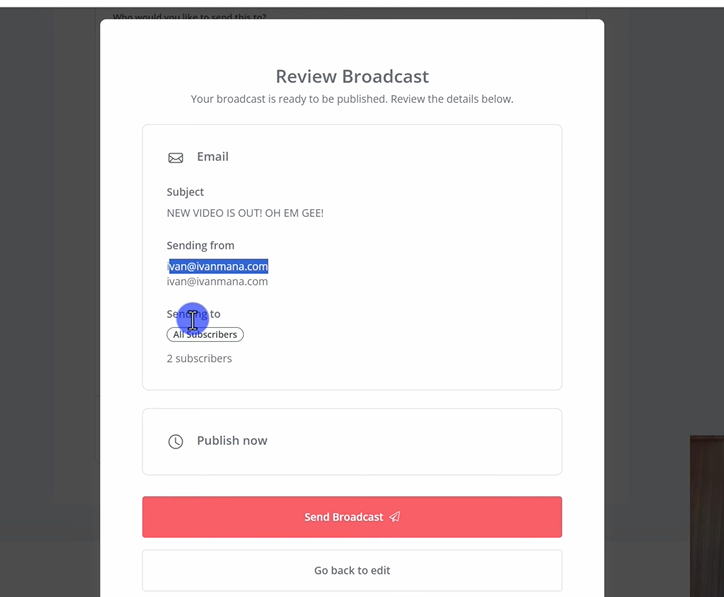
7. Review and Send:
After confirming your settings, click “Send Broadcast.” Your email will be queued and delivered shortly. You can check your email inbox to review how the broadcast appears.
Setting Up an Email Sequence
An email sequence automates the process of sending a series of emails to your subscribers over time. Here’s how you can set it up in ConvertKit:
Create Email Templates and Snippets:
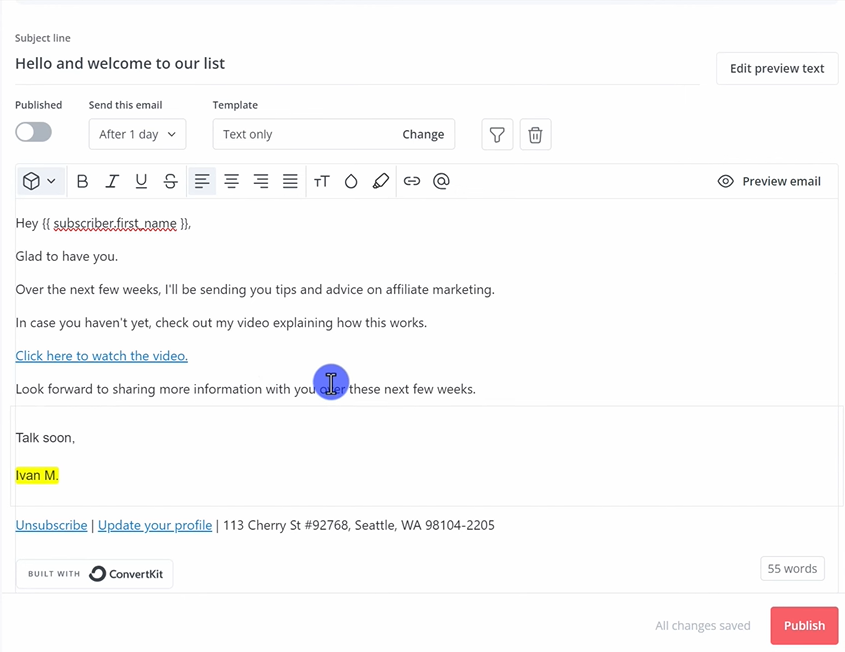
- Save time by creating reusable email templates and content snippets. For example, you can save a sign-off like “Talk soon, Maruf” as a snippet and insert it into multiple emails.
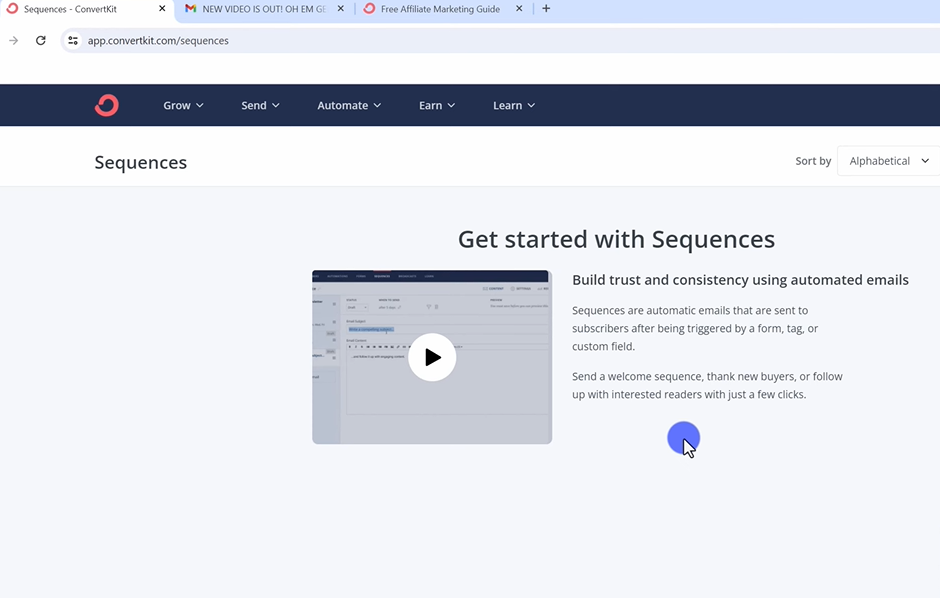
- Build Your Sequence:
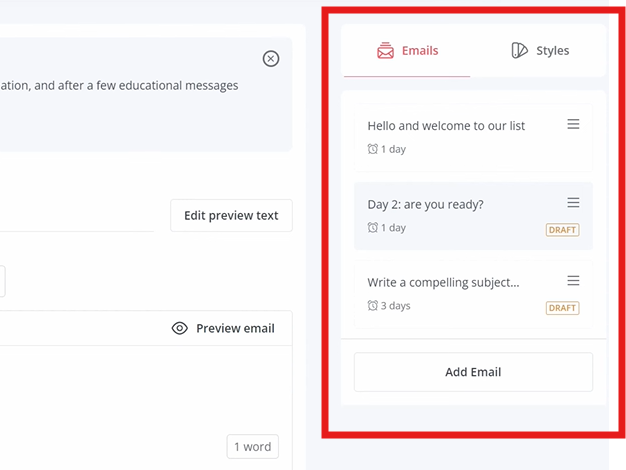
- Go to the Sequences section and click on “New Sequence.” Choose a template, such as “Text Only,” which offers a more natural feel.
Compose Your Emails:
- Write your first email, personalize it by addressing the subscriber by their first name, and include any relevant content or links.
- Add snippets for recurring elements like your sign-off. Ensure the font size and style are consistent throughout the email.
Set Email Timing:
- Define when each email in the sequence will be sent. For example, the first email could be sent immediately after a subscriber signs up, and the next one a day later.
Name and Save Your Sequence:
- Assign a name to your sequence that reflects its purpose, such as “Affiliate Guide.” ConvertKit automatically saves your sequence as you build it.
Automate the Sequence:
- To activate your sequence, you need to set up an automation. Go to “Visual Automations,” create a new automation from scratch, and select the trigger event, such as a subscriber signing up via a landing page.
Assign Conditions:
- You can add conditions to tailor the sequence based on subscriber behavior, like sending different sequences to those who clicked a specific tag in a previous email.
Activate and Monitor:
- Once your automation is set up, activate it. You can monitor the performance and engagement of your sequence by checking the subscriber details under the “Grow” tab.
Setting Up a Custom Domain for Your Landing Pages
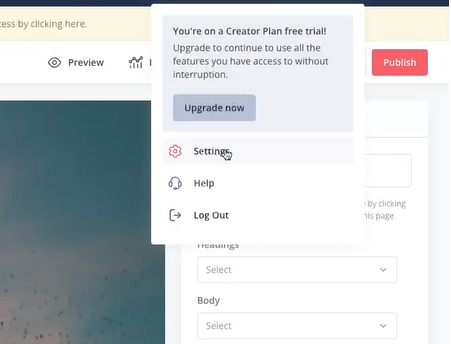
To create a professional-looking landing page, follow these steps:
Connect a Custom Domain:
- Go to “Settings” and click on “Domains.” You can either purchase a domain through ConvertKit or connect an existing one. If you’re using an existing domain, consider using a subdomain (e.g.,
go.yourdomain.com) to avoid potential issues with your main site.
- Go to “Settings” and click on “Domains.” You can either purchase a domain through ConvertKit or connect an existing one. If you’re using an existing domain, consider using a subdomain (e.g.,
Add DNS Records:
- Log in to your domain registrar (e.g., Hostinger) and update the DNS records as provided by ConvertKit. It may take up to 48 hours for the changes to propagate.
Validate and Secure Your Domain:
- Once the DNS records are updated, validate your domain in ConvertKit. It’s normal to see a security warning initially, but this should resolve once the SSL certificate is applied.
Set Your Homepage:
- Decide which page will serve as your homepage (e.g., a landing page or creator profile). Update the domain settings to reflect this.
Publish and Test:
- Publish your landing page or creator profile. Ensure that everything is working correctly by visiting the domain and checking for the “Connection is secure” message.
By following this tutorial, you’ll have everything you need to start using ConvertKit to grow your audience, nurture relationships, and drive sales. Whether you’re just starting out or looking to optimize your email marketing strategy, ConvertKit provides the tools and features to help you succeed. Now, it’s time to take action—create your account, set up your first form, and start building your email list today!
